
How to make a easy image frame. This step by phase tutorial reveals you how to make plywood and plexiglass frames to display pictures or fun holiday break printables! 
These are genuinely pleasurable to make and screen your preferred images, printables.
Or you can make them as a present!
Do it yourself Custom made Photo Frames
I am applying these with Christmas printables for now but these will finally go on the white wall opposite the colorful accent wall in the youngsters&rsquo room.
With all that color going on, I wished to convey in some heat wooden tones. but we have a pretty specific established of child images of the youngsters that have been in their home eternally! I requested them if they needed me to adjust them out but the two unanimously agreed they nevertheless required them!
We had been using basic white Ikea frames so I resolved to use this opportunity to generate entertaining frames and also use up some scrap plywood in the process. (There is a thing about the fulfillment you get from employing scrap wood&hellip)
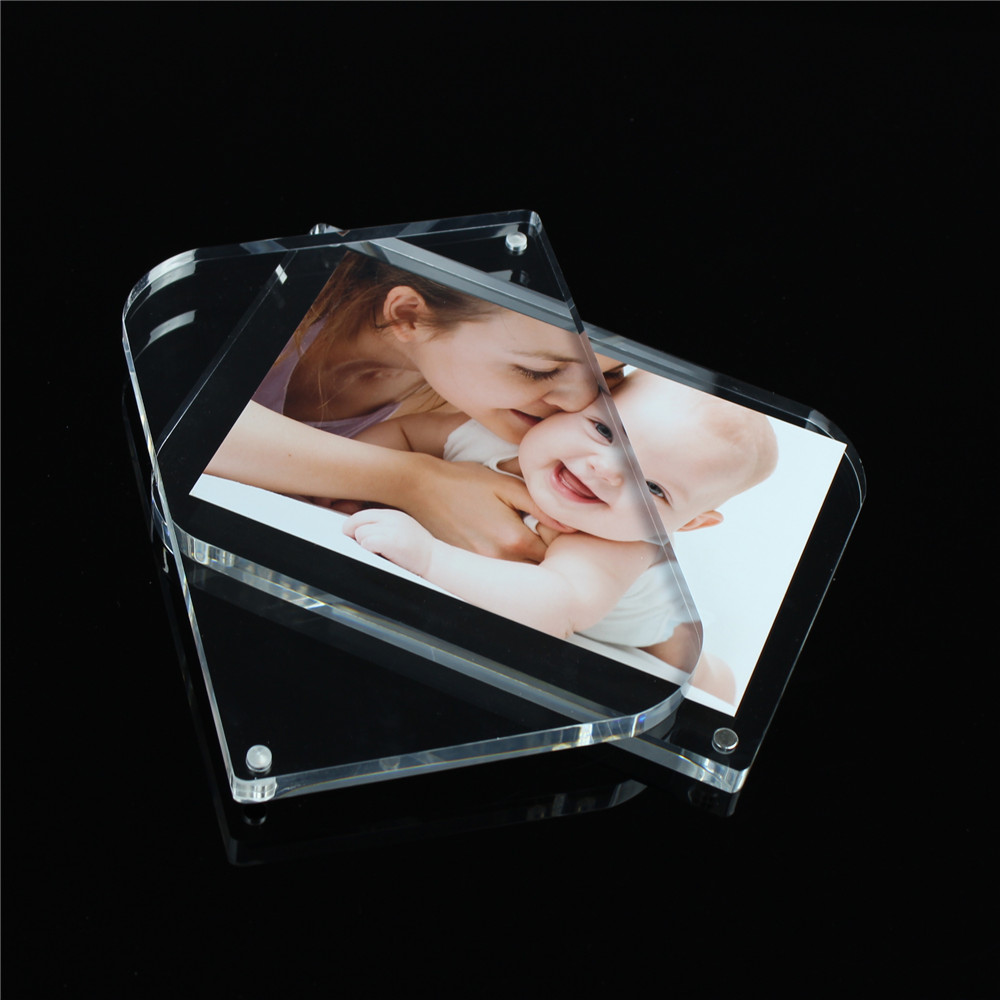
The shots can be simply switched out by just taking off those people screws! I included some succulent printables just for enjoyment.
Rustoleum sent me their white and black wood grain enhancer to attempt out and I appreciate the impact it provides.
Consider a search closer! It&rsquos really great! 
Elements required to make the basic picture body:
- Plywood &ndash reduce to dimensions. I applied 8&Primex10&Key
- Plexiglass &ndash slice to dimension. I utilised seven&Primex9&Primary
- Masking tape
- ¾&rdquo wooden screws
- Stain of your choice &ndash I employed Golden Oak by Varathane
- White wood grain enhancer
- Black wood grain enhancer
- Steel brush
- Straight edge and box cutter &ndash to cut the Plexiglass
- (optional) BladeRunner X2 &ndash to lower the Plexiglass
- Drill
- Screwdriver
If you are a visual particular person like me, listed here are the dimensions &ndash 
Generating the frames is fairly very simple and uncomplicated. Nevertheless, I figured out a number of items functioning with plexiglass for the initially time. have a peek at this website have highlighted that beneath. Just fork out awareness to individuals and creating these show frames will be a snap!
Listed here is the complete video tutorial on how t make the frames. The total prepared instructions comply with.
How to make the wooden and plexiglass frames &ndash
Step 1 &ndash Start by staining the plywood in the coloration of your preference. I utilized Golden Oak because it carefully matches the Hardwood flooring in the space.Action two &ndash If you are working with the grain enhancer, wipe the floor with drinking water to help pop the grain. When the surface area is still wet, scrub it with the steel brush. This is pretty significant to get the grain enhancer to do the job. Phase 3 &ndash Once the surface area is dried, wipe it very well and implement the wooden grain enhancer from the grain. Wipe it off immediately after a couple minutes with a mild hand in the similar path you utilized it.
Step 4 &ndash Get your plexiglass completely ready. To minimize the plexiglass, you can use a straight edge and a box cutter to rating 7-eight periods and snap. It creates a fairly clean up cut. I desired to make four of the frames so I determined to deliver out my BladeRunner X2 which assisted make the approach a bit more rapidly.Step five &ndash Measure the locale and position the plexiglass on the plywood. I used masking tape to maintain it in its spot. Then I calculated and marked the places for the screws.
Phase 6 &ndash Use a drill bit that is huge plenty of for the screw to go by easily. I applied a 5/32&Primary. Drill very slowly! The masking tape retains the plexiglass from cracking. When you hit the wood on the bottom, you will truly feel resistance. End when you have developed a pilot gap in the wood.Stage 7 &ndash Place the photo or printable on the plywood. Use double-sided tape to maintain it in spot. Clear away protective covering from the plexiglass and attach with the wooden screw. It is vital to use a handbook screwdriver so you have regulate on the force and how considerably the screw goes. If not, you can conclusion up cracking the plexiglass.
 Add Sawtooth hangers on the back and hang them up! 
The wooden grain enhancer adds a great effect! I employed the black wood grain enhancer on two and the white on two.
I can&rsquot make your mind up if I like the black a lot more&hellipOr the white&hellip